If you already read my Issues page, you will know about some of my concerns.
These pictures were taken during prototyping so my not reflect my directions
exactly.
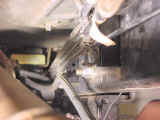
| Fuel
and Brake Line Standoffs: |
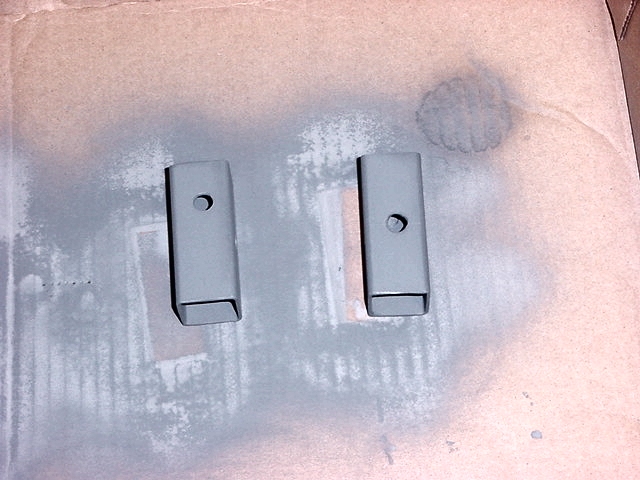
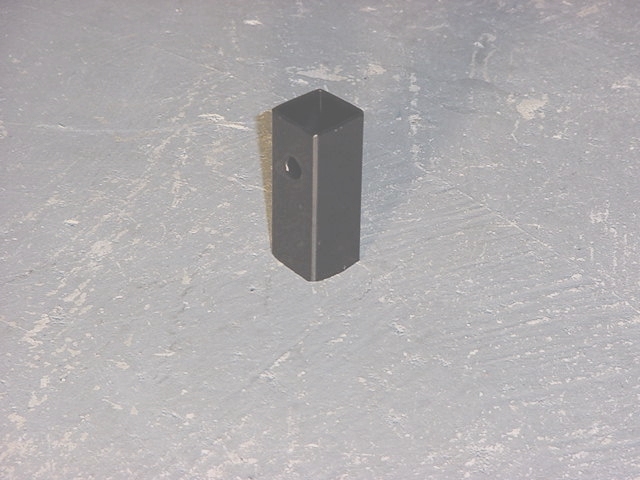
| 1. Measure and cut three (3) sections of the tubing. Each 2 1/2
inches long. |
|
| 2. Mark the center on one side. 1 1/4" from either end.
Drill a 5/16" hole. |
|
| 3. On the opposite side drill a 5/16" hole 3/4" in from the
end. This will give you two (2) holes offset by 1/2". |
 |
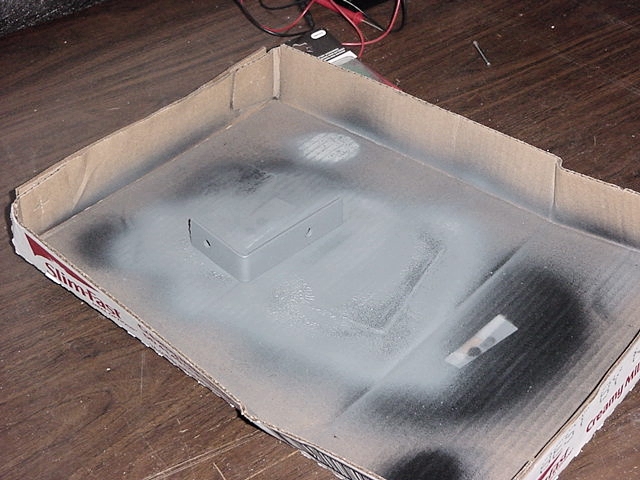
| 4. Now clean up all the edges and prime them. I choose to paint
them gloss black, since I had that sitting on my shelf. |
 |
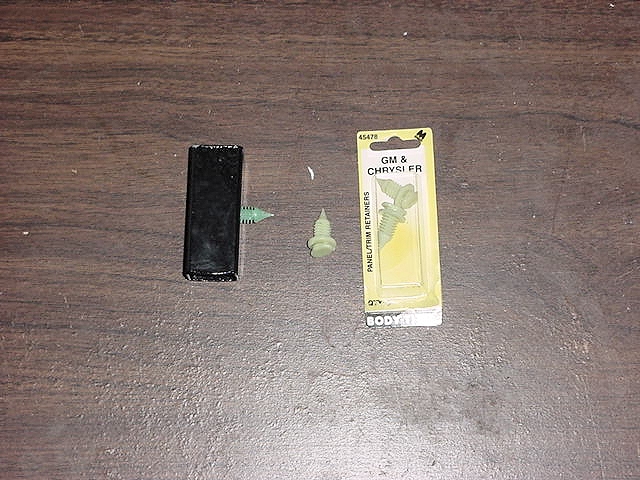
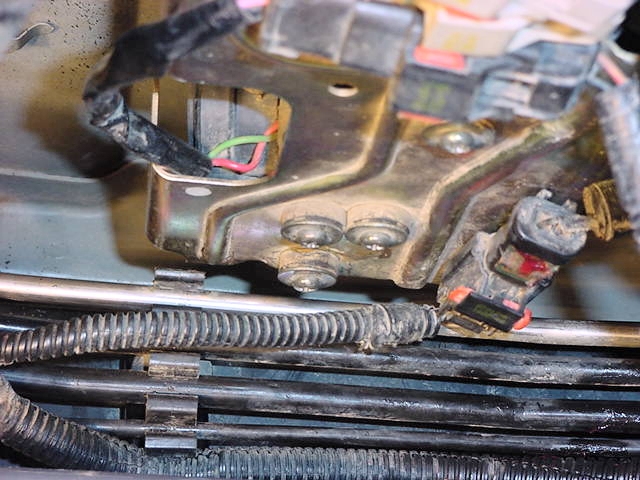
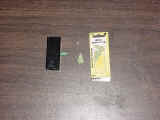
| 5. Once all the paint is dry take one of the push fasteners and insert
it inside the tube and through the hole that you drilled in the center. |
 |
| 6. Now it is easier if you install all of these brackets since you need
a little play in the fuel and brake line assembly to get your hand
under there. I found that if you stick a finger inside the standoff
bracket and hold the push fastener It is a little easier to
line up with the factory hole in the frame. Once you get it
lined up, just push the fastener into the hole until it is snug. |
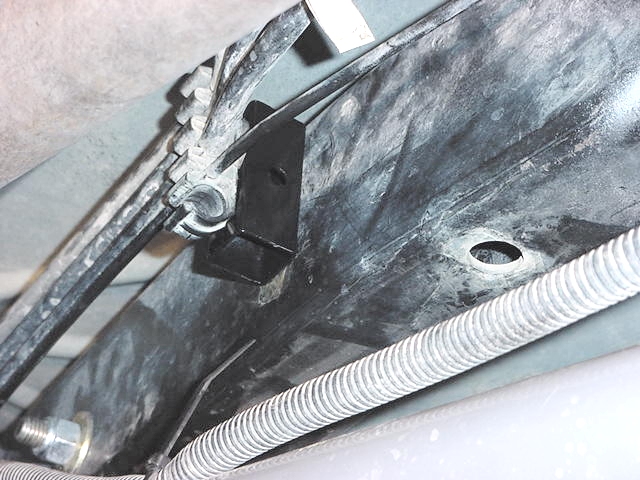
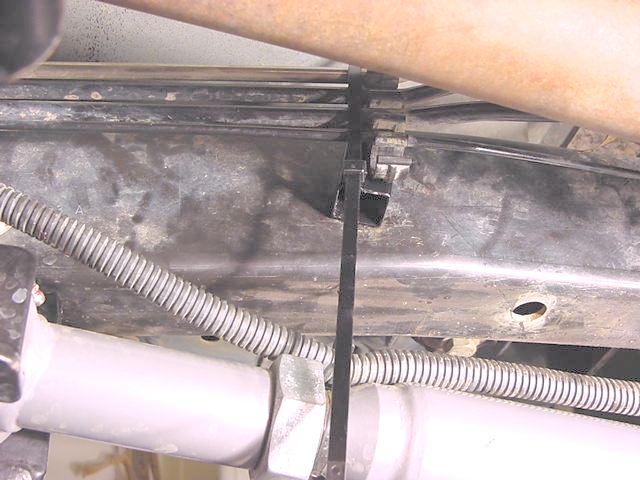
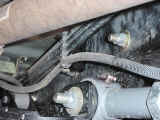
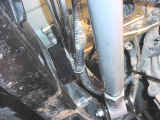
| 7. Once you have all (3) installed, rotate the standoff brackets until
the offset hole is on the top. These brackets may rotate slightly
once you get them all in. |
 |
| 8. Now line up the tree that is on the backside of the stock brake and
fuel line brackets with the offset hole and push it in. I did
the center one first then the 2 ends. |
 |
 |
 |
 |
 |
|
|
 |
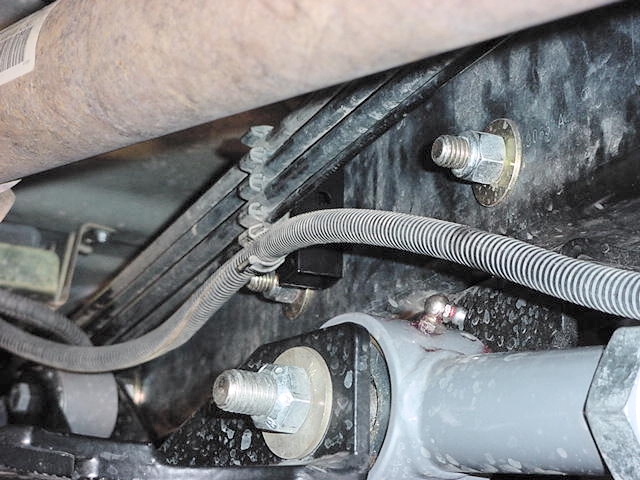
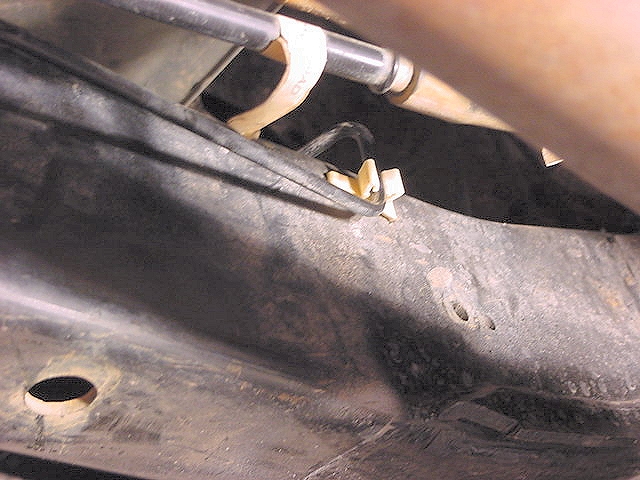
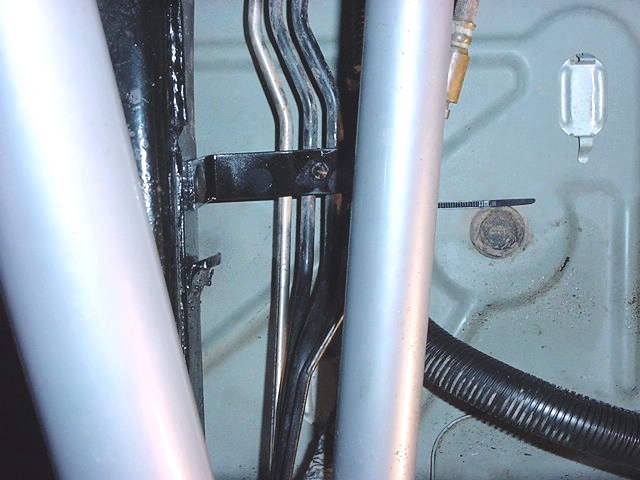
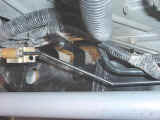
| 9. If your tree is mangled, you can run a couple long zip ties through
the standoff bracket and around the factory bracket to hold it in
place. |
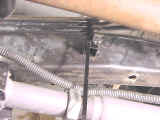 |
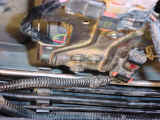
| 10. I was able to get the brake line back into the lonely frame bracket
also. |
 |
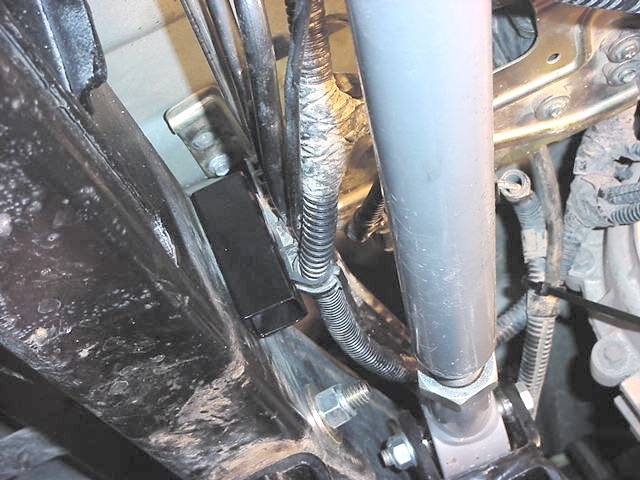
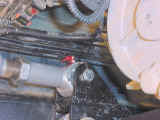
| 11. Now I needed to figure out how to support the upper bracket that was
attached to the Upper Control Arm bracket that I cut off. |
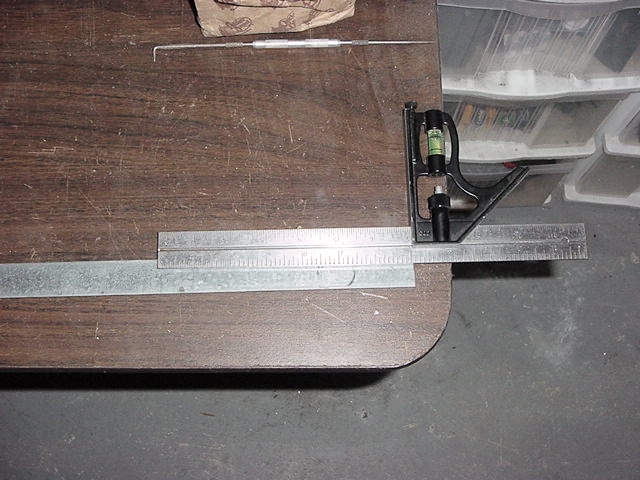
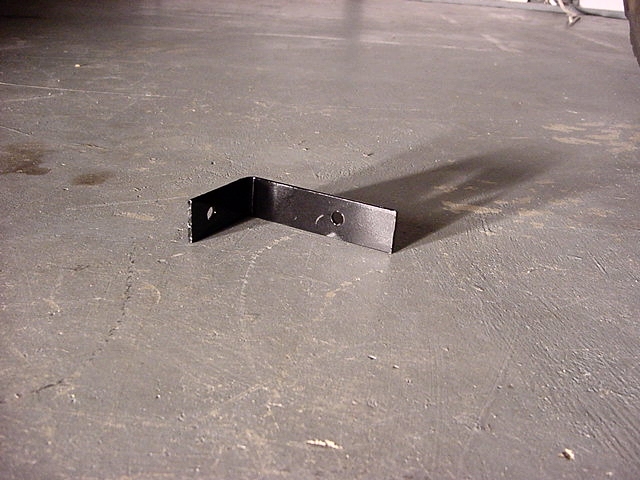
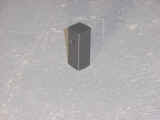
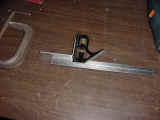
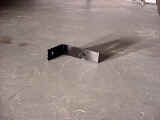
| 12. This is actually fairly simple. I took a piece of 1"x 1/8
" flat steel that I had and cut a piece 5 3/4" long. |
 |
| 13. Now measure in 3/4" from one side and 1 1/2" from the other.
Now drill a 5/16" hole. Clean up the holes and end |
 |
 |
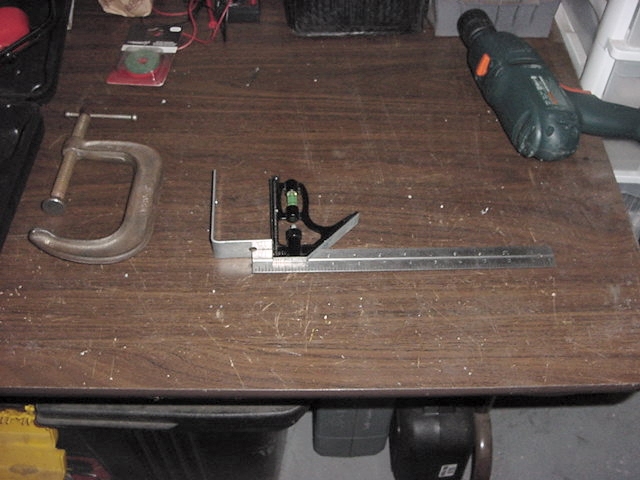
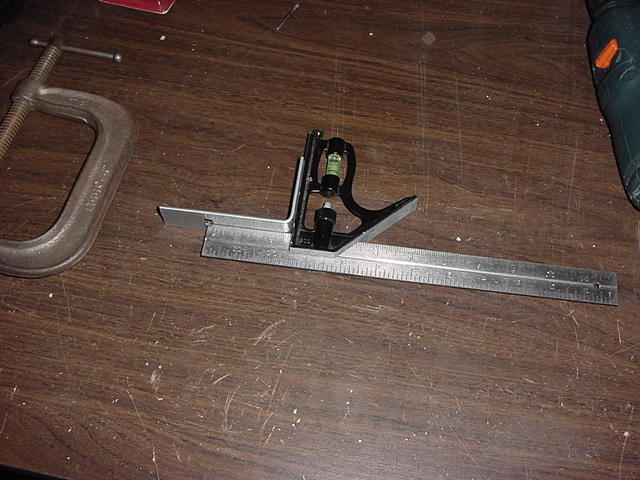
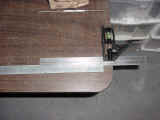
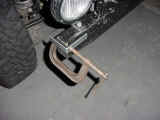
| 14. I then measured in 2" from the side that I drilled the hole 3/4"
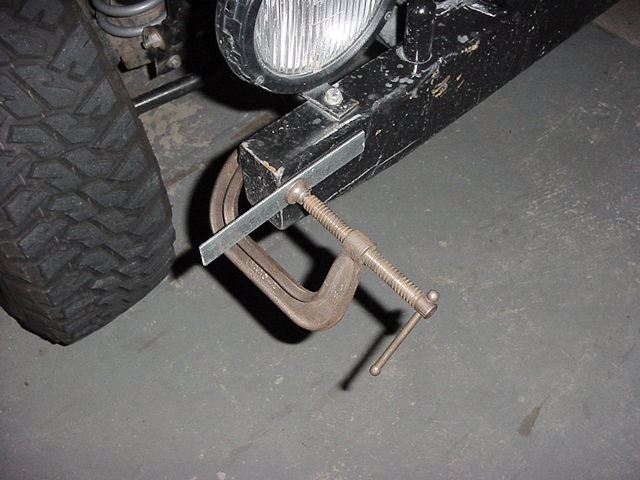
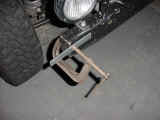
in and made a 90 degree bend at that point. Okay so I don't
have a vice handy in the garage, so I improvised. |
 |
 |
| 15. Now that you have a piece that looks like an L. The short end
goes against the frame. Prime and paint this piece. |
 |
 |
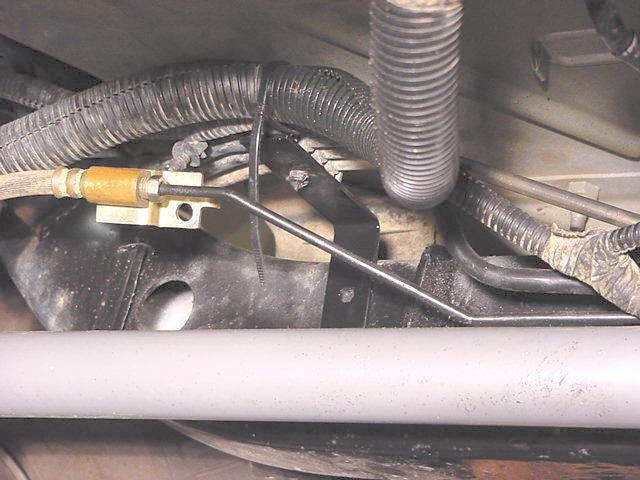
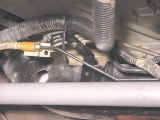
| 16.
Now clip the factory bracket into the hole in the long side and swing
the short side against the frame. I pushed it up just a little
(about 1/4") to take some tension off of the next bracket in
line. |
 |
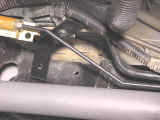
| 17.
Mark the frame and drill a 5/16' hole. Clean up the hole and
then clip the bracket to the frame with a push fastener. |
 |
| |
 |
 |
|